How to change your skin in Minecraft Bedrock from your PC
Using your own skin in Bedrock is free and needs no Marketplace. Here is how, and what to check when it looks blurry or the arms come out wrong.
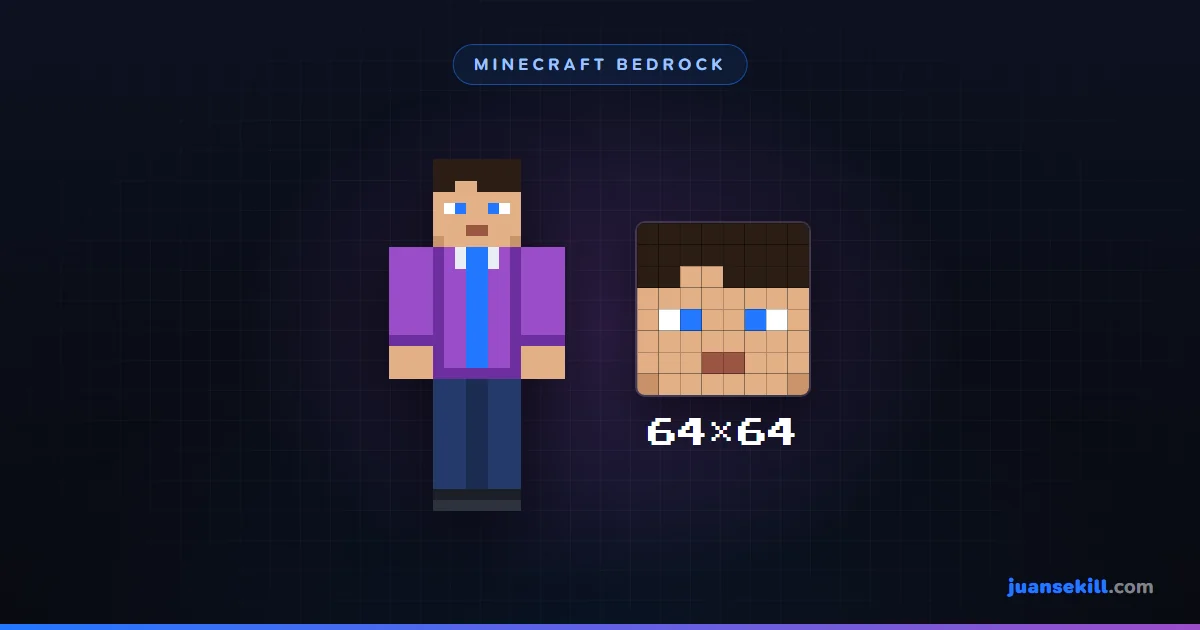
What to know before you start
Two things, and both save you time:
It is free. The Marketplace sells skin packs, which is why plenty of people assume using your own costs money too. It does not: loading your own file has always been free and needs nothing installed. If you run into a site asking you to pay or download a program to "unlock custom skins", you are in the wrong place.
It is a 64×64 pixel PNG. Tiny. That is not a mistake: the texture for the entire character — head, body, arms, legs, both layers — fits in that 64 by 64 image. That is why skins are drawn pixel by pixel and not with brushes.
Classic or Slim: pick before you draw
There are two character models and the difference is exactly one thing:
- Classic (Steve's): arms 4 pixels wide.
- Slim (Alex's): arms 3 pixels wide.
Everything else is identical. But draw for one and apply as the other and the arm comes out wrong: an extra strip going Slim to Classic, cut short the other way.
If your skin only looks odd on the arms, do not redo it. Apply it again choosing the other model. It is the first thing to try and it fixes most cases.
How to apply it, step by step
The exact button names shift a little between versions, but the path is always this:
- Open Minecraft and stay on the main menu.
- Go into the dressing room — the hanger icon, or your character model. You can also get there from Profile.
- Click Edit Character.
- Go to the classic skins tab and then to Owned.
- Click Choose New Skin and browse to your PNG on the PC.
- Pick Classic or Slim depending on how it is drawn.
- Confirm. It is on.
The skin is saved to your profile. If you are signed in with your Microsoft account, it follows you to other devices where you sign in with the same account.
If you do not have a skin yet
Three routes, from least to most work:
- Download a finished one. There are sites full of free skins.
Check that what you download is a PNG: a skin is never an
.exeor an installer. - Edit one you like. The most practical option: take a base and change the hair, clothes or colours. No drawing skill required.
- Make one from scratch. More work, but genuinely yours.
For the last two you need an editor that works at 64×64 and exports at that size. JuanSkinStudio — right here, in the browser, nothing to install — does exactly that: you draw pixel by pixel, watch the model in 3D as you work, mix parts from several skins, and download the result already at 64×64, ready for the step above. Linked at the end.
The four usual problems
It looks blurry
The cause is almost always the same: the image is not 64×64. Open a skin in a regular photo editor and save it bigger, and the program smooths the edges to make it look "better" — which in Minecraft reads as a smear.
The rule: always work at 64×64. If you need it bigger to see it, use a scaling option without smoothing — usually called nearest neighbor — and remember to export back at 64×64.
The arms come out wrong
Wrong model. Covered above: try the other one.
There is a square around the head
That is the second layer, used for hair, hats and clothing over the top. If that part of your image is filled with colour instead of being transparent, you get a block floating around you.
The first layer should be opaque and the second transparent except where you want something to show. If you are not using it, leave it completely empty.
It does not save, or others cannot see it
If it does not stick between sessions, check that you are signed in to your Microsoft account: without that the skin may only live on that device.
And if you see it fine but look different on a server, it is not your file: some servers replace skins with their own. In your worlds, over LAN and on Realms, yours is what shows.
About capes
Capes — the cloth hanging off the back — are not part of the skin. They are not in the PNG and cannot be added by loading a file.
In Bedrock they come from the Marketplace or from Mojang promotions and events. Which is why it is worth distrusting any site offering "free capes for Bedrock" as a download: there is no file you can load to get one, so whatever they are handing out is something else.
The summary
- A 64×64 PNG, and always work at that size.
- Pick Classic or Slim based on the arms.
- Dressing room → Edit Character → Owned → Choose New Skin.
- Blurry = you scaled it up with smoothing. Odd arms = wrong model. Square around the head = the second layer is not transparent.
Frequently asked questions
Do I have to pay to use my own skin?
No. The Marketplace sells skins, but uploading your own from a file is free and always has been. If a site asks you to pay or install a program to "unlock custom skins", you do not need it.
What size does the image have to be?
64×64 pixels, PNG. That is the current standard. There is an older 64×32 format that still works but has no second layer and no separate left arm. If you are making one from scratch, make it 64×64.
Why does my skin look blurry in game?
Almost always because the image is not 64×64 and some editor scaled it up with smoothing. Minecraft expects sharp pixels: open a 64×64 file in a regular photo editor, save it as 512×512, and every pixel becomes a gradient. Work at 64×64, or scale without smoothing.
Why do the arms look wrong?
You picked the wrong model. Classic has 4-pixel-wide arms and Slim has 3. If your skin is drawn for one and applied as the other, the arm ends up with an extra strip or cut short. Switching model fixes it without redrawing anything.
Can other people see my skin?
In your own worlds, over LAN and on Realms, yes. On third-party servers it depends: some show everyone's skins and some replace them with their own. If you look different on one server, it is not your file.